
With so much to see and do, it's important to come prepared. Bring along a bag to fill with exciting bargains and treasures you discover at the fair. Whether you're searching for scrapbooking supplies, handmade jewelry, or unique fabrics, you're bound to find something that catches your eye. Remember, many of our products are retired, making them even more exclusive and desirable. Don't miss the opportunity to add these hidden gems to your craft collection!
Our Workshops: A Chance for Learning and Winning
In addition to the craft stalls, the Craft Fair offers workshops designed to inspire and educate. By attending a workshop, you not only enhance your crafting skills but also gain complimentary entry into the fair. It's a win-win situation! Join our talented instructors as they guide you through various techniques and projects. Whether you're a beginner or an experienced crafter, there's something for everyone. Plus, by attending the fair, you enter the draw for a chance to win $500 worth of Stampin' Up! products – a dream come true for any crafting enthusiast!
Discover the World of Stampin' Up!
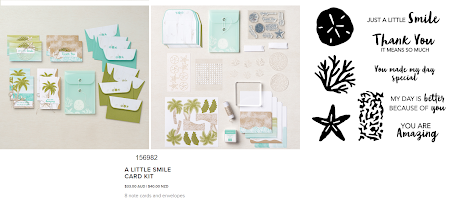
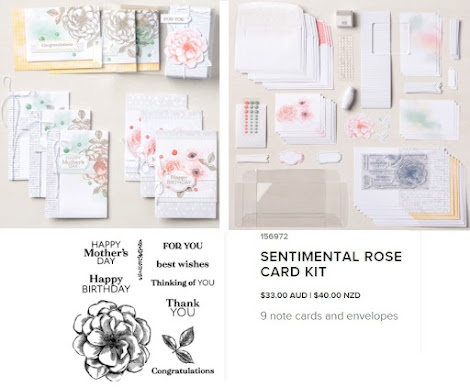
At the Craft Fair, all roads lead to our Stampin' Up! stall. Immerse yourself in the world of creative possibilities and explore our range of retired products. From stamps and ink pads to designer papers and embellishments, you'll find everything you need to bring your craft projects to life. Our retired products are not only a treasure trove for crafters but also a budget-friendly option to expand your collection. With their limited availability, it's best to grab them while you can. Don't miss out on these remarkable deals!
Stampin' Up! - A Name You Can Trust
Stampin' Up! has established itself as a reputable brand in the crafting industry. With a focus on quality, innovation, and artistic expression, our products have earned the trust and loyalty of crafters worldwide. All our materials are carefully crafted to ensure flawless results and extraordinary creativity. When you purchase Stampin' Up! products, you're investing in a brand that understands your passion for crafting and is dedicated to providing you with the highest quality supplies. Join us at the Craft Fair and experience the magic of Stampin' Up!
In Conclusion
The Craft Fair at the Sleeman Centre Chandler is a paradise for craft lovers, offering an abundance of unique and affordable supplies. This event is not only an opportunity to indulge in your crafty side but also a chance to connect with fellow crafters and expand your creative horizons. Today is the day – where creativity and bargains meet!